Edit, design and customize your newsletter.
This article contains:
- Step 1. Select a template and theme
- Step 2. Label your newsletter
- Step 3. Compose your email
- Step 4. Adjust the settings
- Step 5. Testing, saving and/or publishing
_
- To create a new newsletter, click on

- To edit an existing newsletter, hover over the item in the Manage Newsletters screen, click on its Menu icon (
 ), and select 'Edit'
_
Step 1. Select a template and a theme
- When creating a new newsletter, the 'Select Theme and Template' modal will automatically be prompted.
- When editing an existing newsletter, click on
 to re-open the 'Select Theme and Template' modal.
 - You can choose from either a standard or custom template.
-
- Standard templates and themes. Sparrow provides ready-made templates for your convenience (1-column and 2-column). You can also select or modify the theme directly from the Editor when using Standard Templates.
- Custom templates. You can also add your own custom template. Learn more about custom templates.
Step 2. Label your newsletter
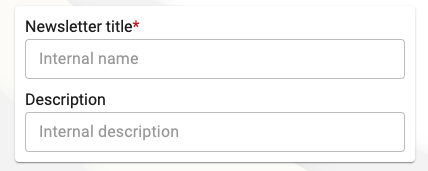
The newsletter title is an internal label that helps you identify, search and organize your newsletters. You can also add keywords and descriptive details in the Description field to help you search for and find your newsletter.
Each newsletter is required to have its own unique title, but the description is optional.

Step 3. Enter the email details
These are the details found within the emails that the newsletter will be sending out. This includes the Subject, Preheader, header and footer of the email.
Subject and preheader
Here's an example of how a newsletter is received in an employee's inbox:

- Subject. The subject is the first sentence that would describe your newsletter. This can be a tagline, or a very short summary of what your newsletter is about.
The subject line is one of the most important parts of an email because it is the first impression. Try using inviting and creative phrases to entice the employees to open and interact with your newsletter. - Preheader. This is the text that follows the the subject line when an email is previewed. The preheader are usually statements that support the subject.
Header, Body & Footer
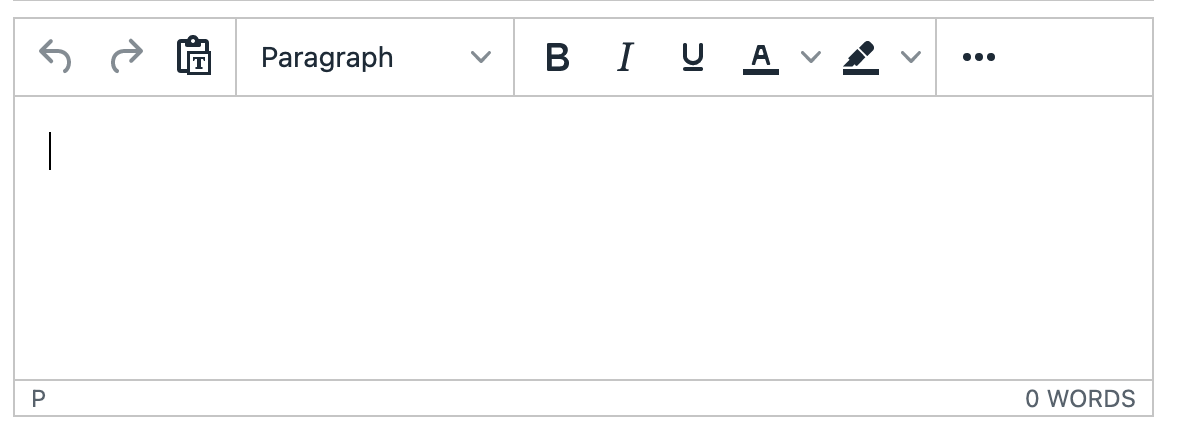
Each of the text fields have rich text editors so you can customize and style the texts of your newsletter. If there are no changes to the style and format of the texts, it will follow the default style that comes with the template that you selected. All 3 text fields are optional.

- Header. Enter the header text and upload a header image. The header image is the first thing recipients see when viewing the emails of the newsletter, and the header text appears under the header image.
- Body. This text appears under the header text. You can include messages, information, descriptions, introductions, or other supporting texts.
- Footer. Enter the footer text and upload a header image. The footer appears at the bottom of your newsletter.
⚠️ The header and footer are currently available for standard templates only. A default image will be used on the emails if there are no images uploaded.
TIP: You can also change the contents of each scheduled issue(s) of the newsletter under "Future Issues" in the newsletter's dashboard.
Step 4. Adjust the settings
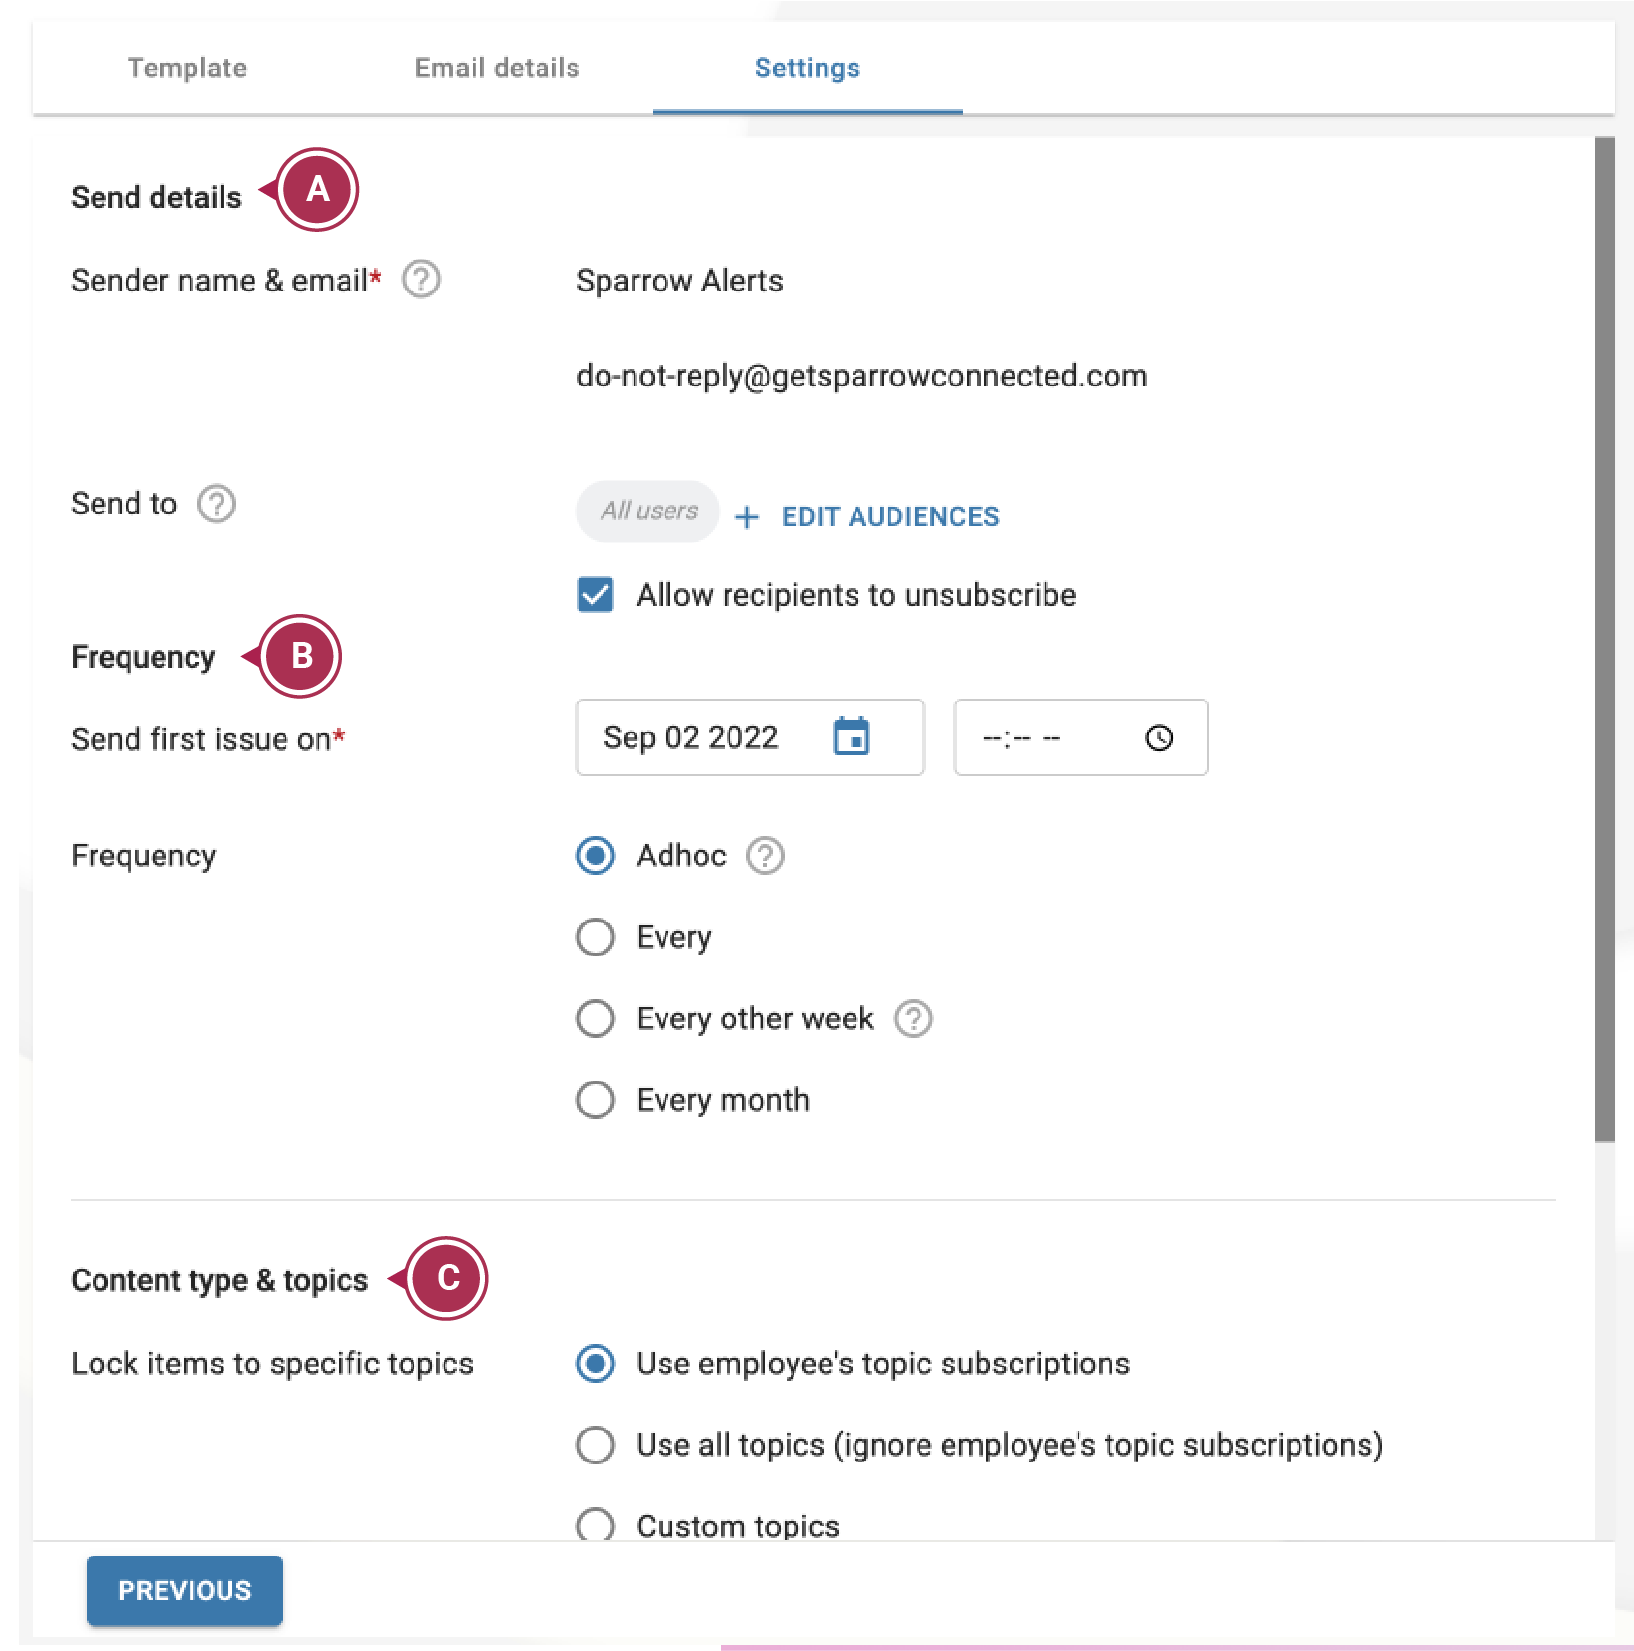
These are the behind-the-scenes customizations of your newsletter. They allow you to easily target the right people with the right message, using the right type of content.

A. Send details
- Sender email. Select the 'From' address of your newsletter. Learn more about sender names and emails.
- Send to. This is where you select the audiences that you want to target your newsletter to. If there are no audiences selected, the newsletter will be sent out to any employees with a valid email address in Sparrow.
- Allow recipients to unsubscribe. For urgent or important newsletters, you can remove the ability of your audiences/employees to unsubscribe. This function hides the unsubscribe link from the emails.
You can manage audiences and its members (employees) through Targeting Tools > Audiences in the Admin Portal. You can find out more about topics and audiences here: Topics and Audiences.
B. Frequency
The frequency controls when the issues of your newsletter will be sent. Learn more about frequency settings.
Send first issue on. This is a required field that will specify when the first issue will be sent out. If you are editing an existing newsletter, this field will not accept past dates and you will need to re-enter a future date.
C. Content type and topics
- Lock newsletter content to specific topics. Filter the content that goes into your newsletter by selecting the topics that you want to include.
- Include unread posts or upcoming events section. Your newsletter can be news-centric or events-centric, or both, depending on your preference.
Step 5. Testing, saving and/or publishing
After finishing the previous steps, you can:
- Preview a live version of your newsletter using the 'Send Test Email' button on the upper right corner of the Newsletter Editor;
- Save it as a draft in case you're not ready to send the newsletter out yet;
- or Publish it to get the newsletter up and running.
Ready to manage each newsletter? Visit our article about the Newsletter Dashboard to help familiarize yourself with the tools and features of each newsletter.
